


Safe Work SA recommends wearing eye ware when handling dry ice. I already wear glasses, so I had this covered. Although, my model did handle small amounts of the dry ice, she was very confident having used it for years in cocktails  . Any handling should always be done with care.
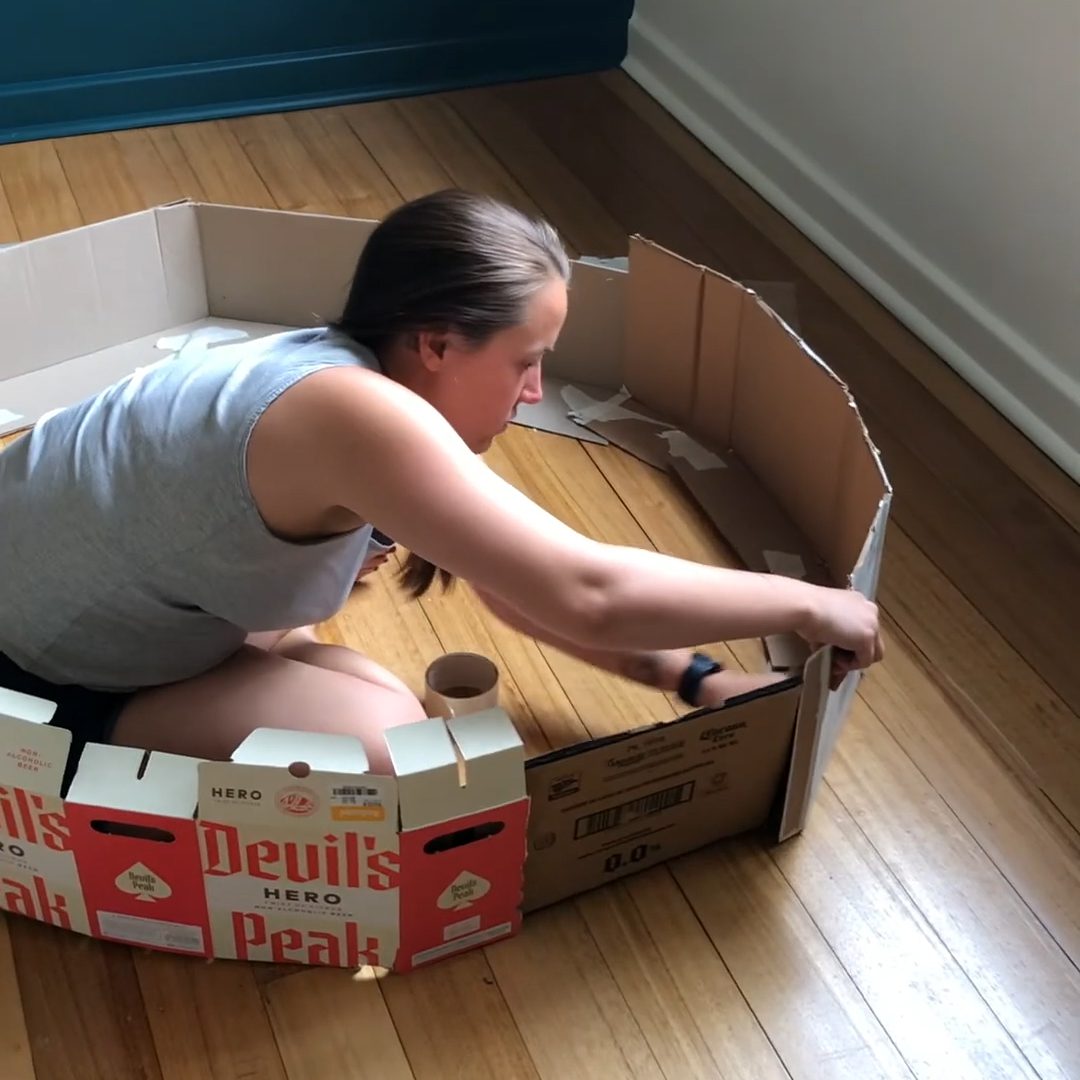


Before
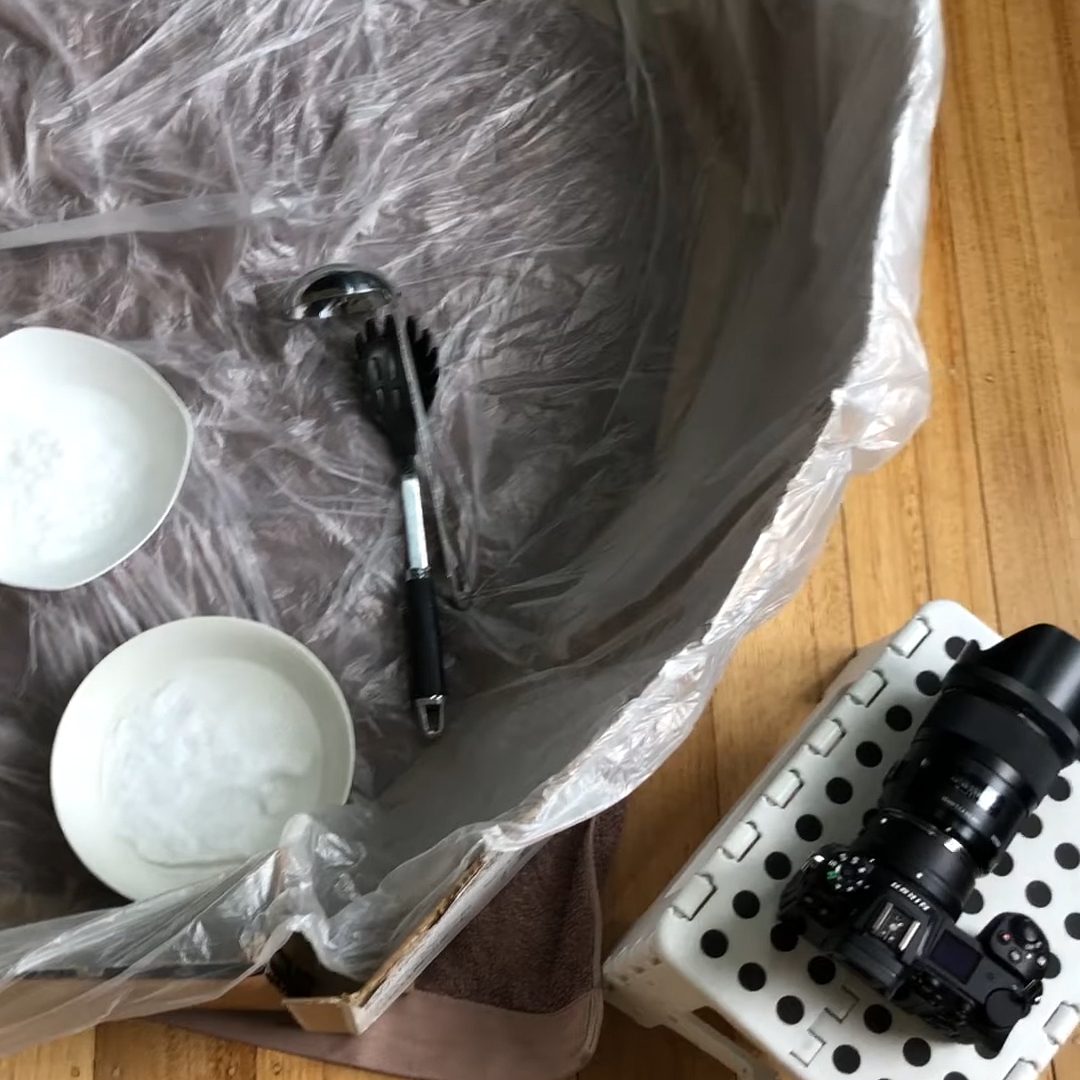
After